Today I’m removing my trusty Delta Faucet 2 and replacing it with a Moen Magnetix shower head. The Delta shower head is cheap and powerful, but it’s difficult to try and bathe our dog with. So we needed something that included a handheld sprinkler.
The process for replacing a shower head is pretty straight forward. We’ll remove the old one, clean the shower arm and get the new one installed.
Here’s what you’ll need:
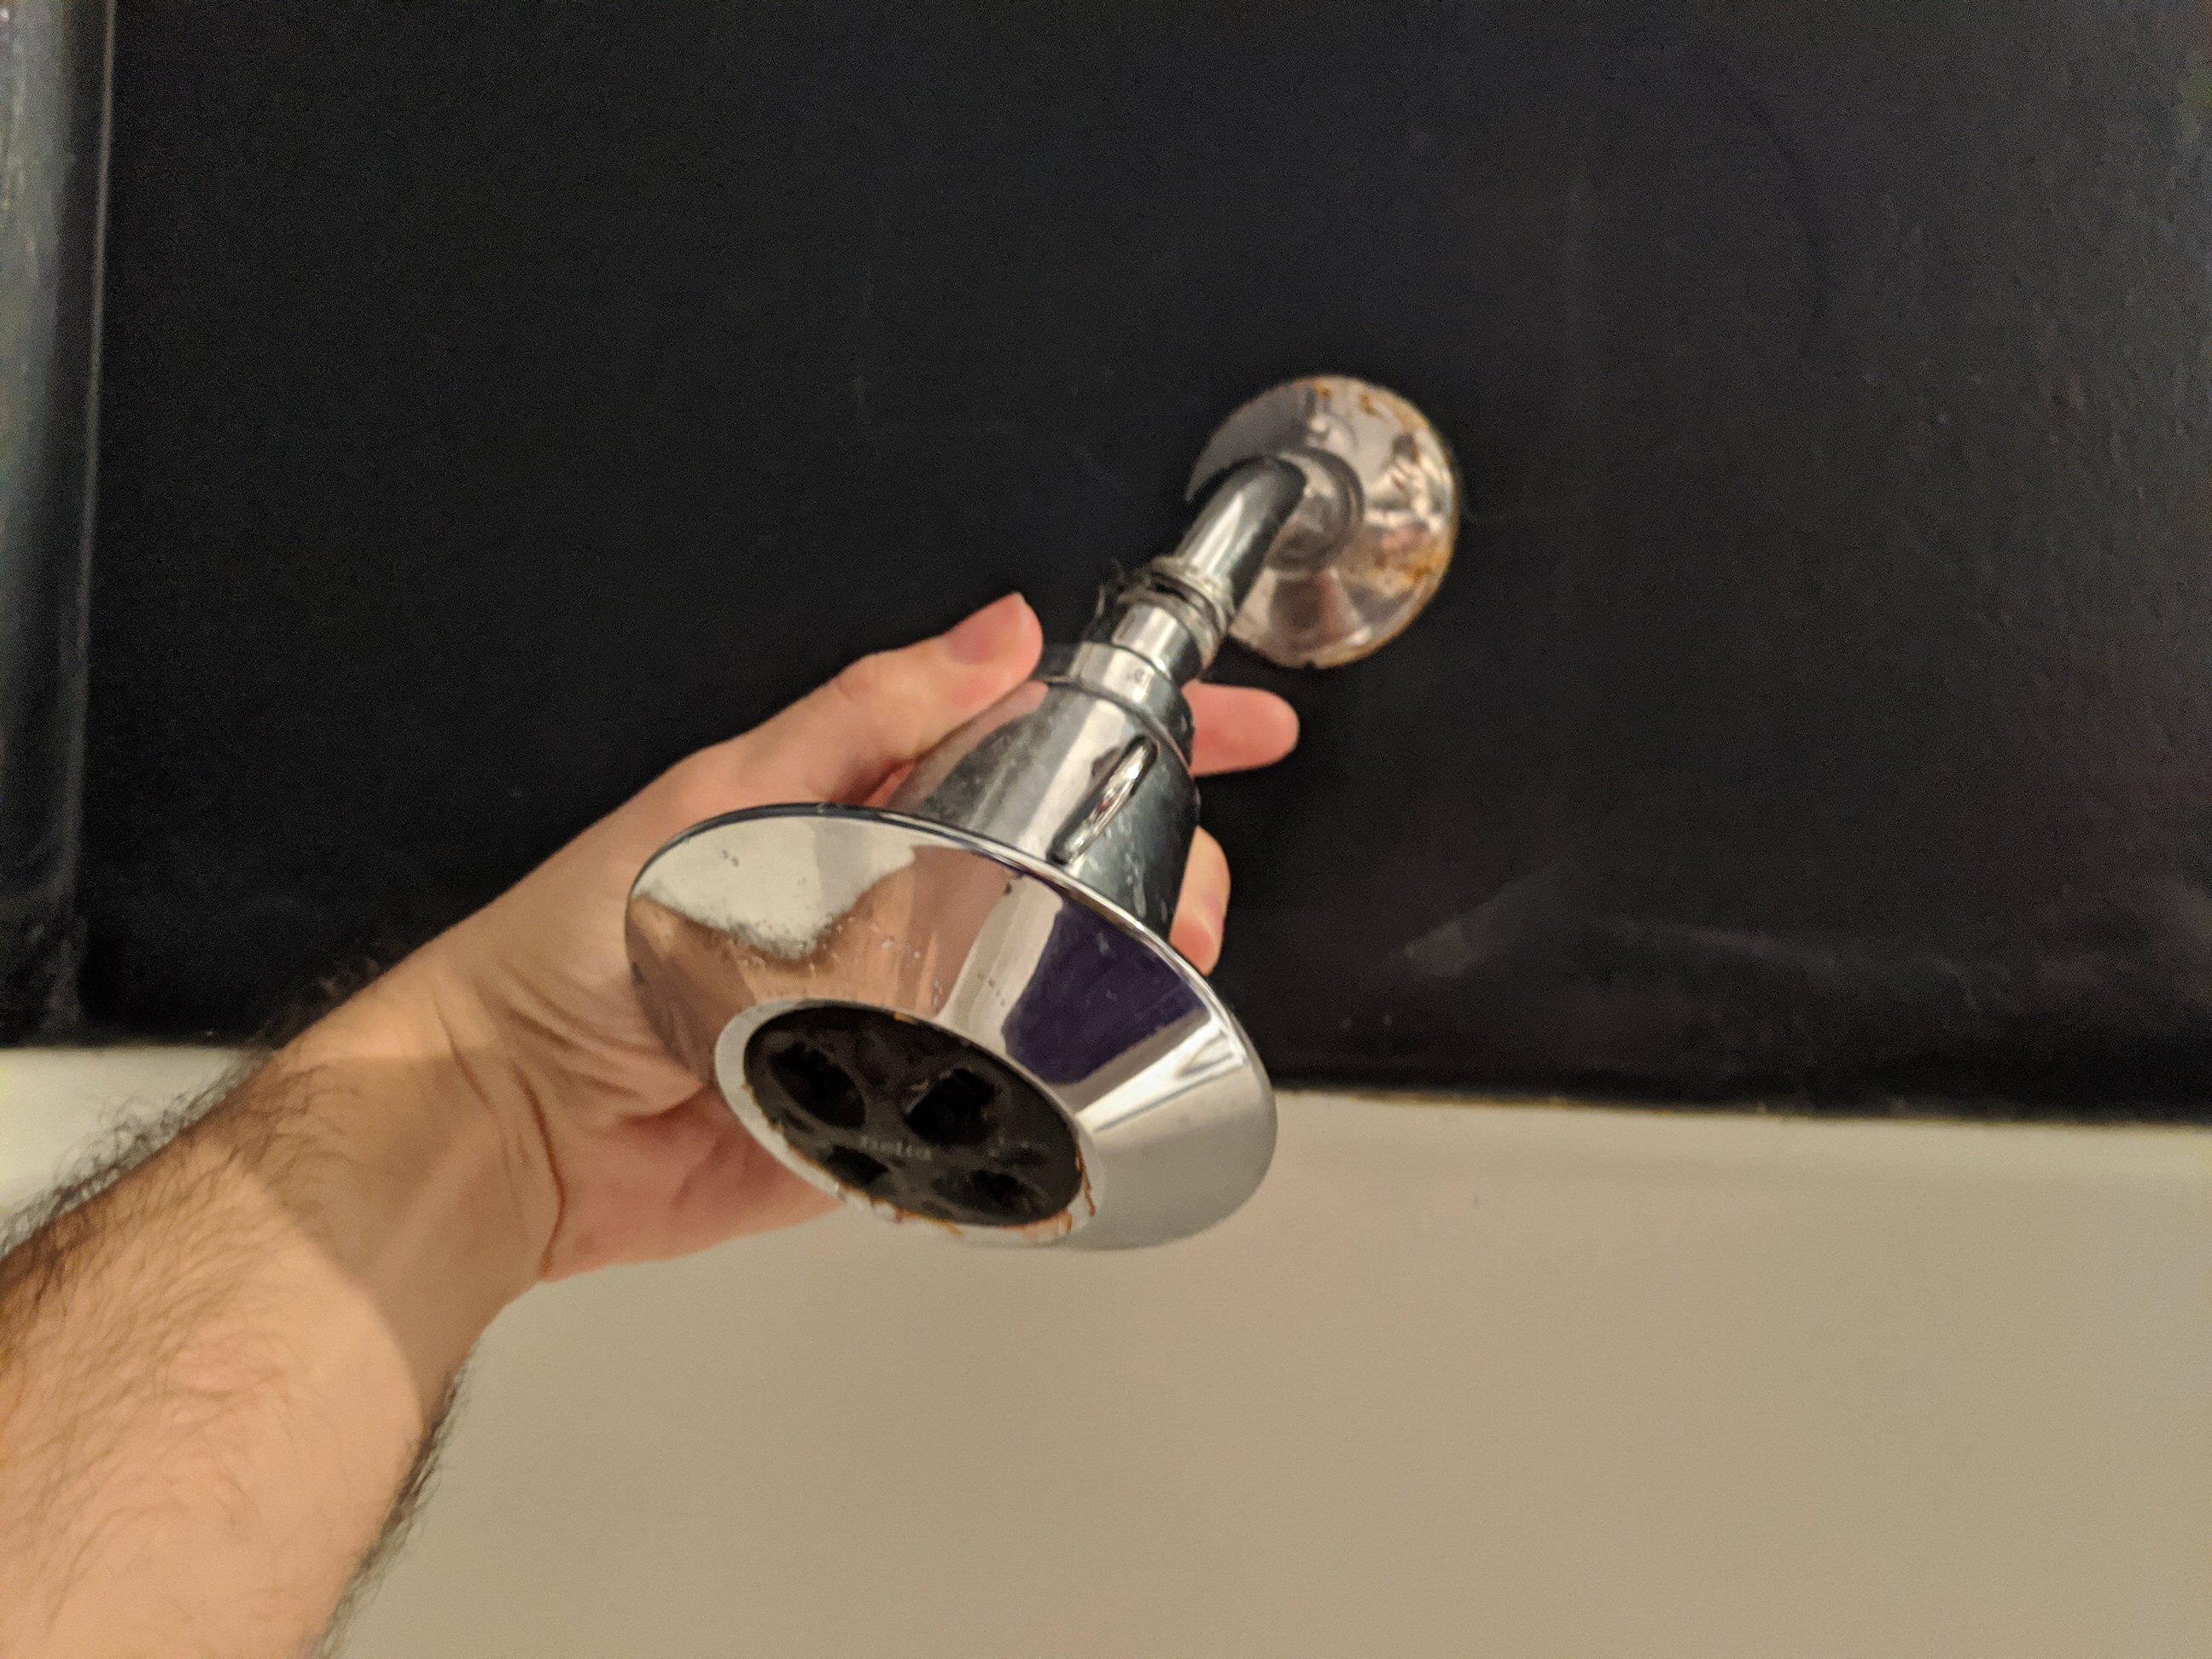
Step 1: Remove the old shower head
Here’ we’ll remove my Delta Faucet 2 shower head. It has been excellent and I’d highly recommend it for anyone who wants a cheap, simple showerhead with an incredibly powerful spray.
Make sure the water is completely off and then remove the shower head by turning it counter-clockwise. If the shower head has a ball joint, you might need to grip the connection to remove it. If the shower head hasn’t been changed in years, there could be some corrosion and it may require a wrench to remove it. If you do have to use a wrench be careful not to turn the shower arm coming out of the wall.
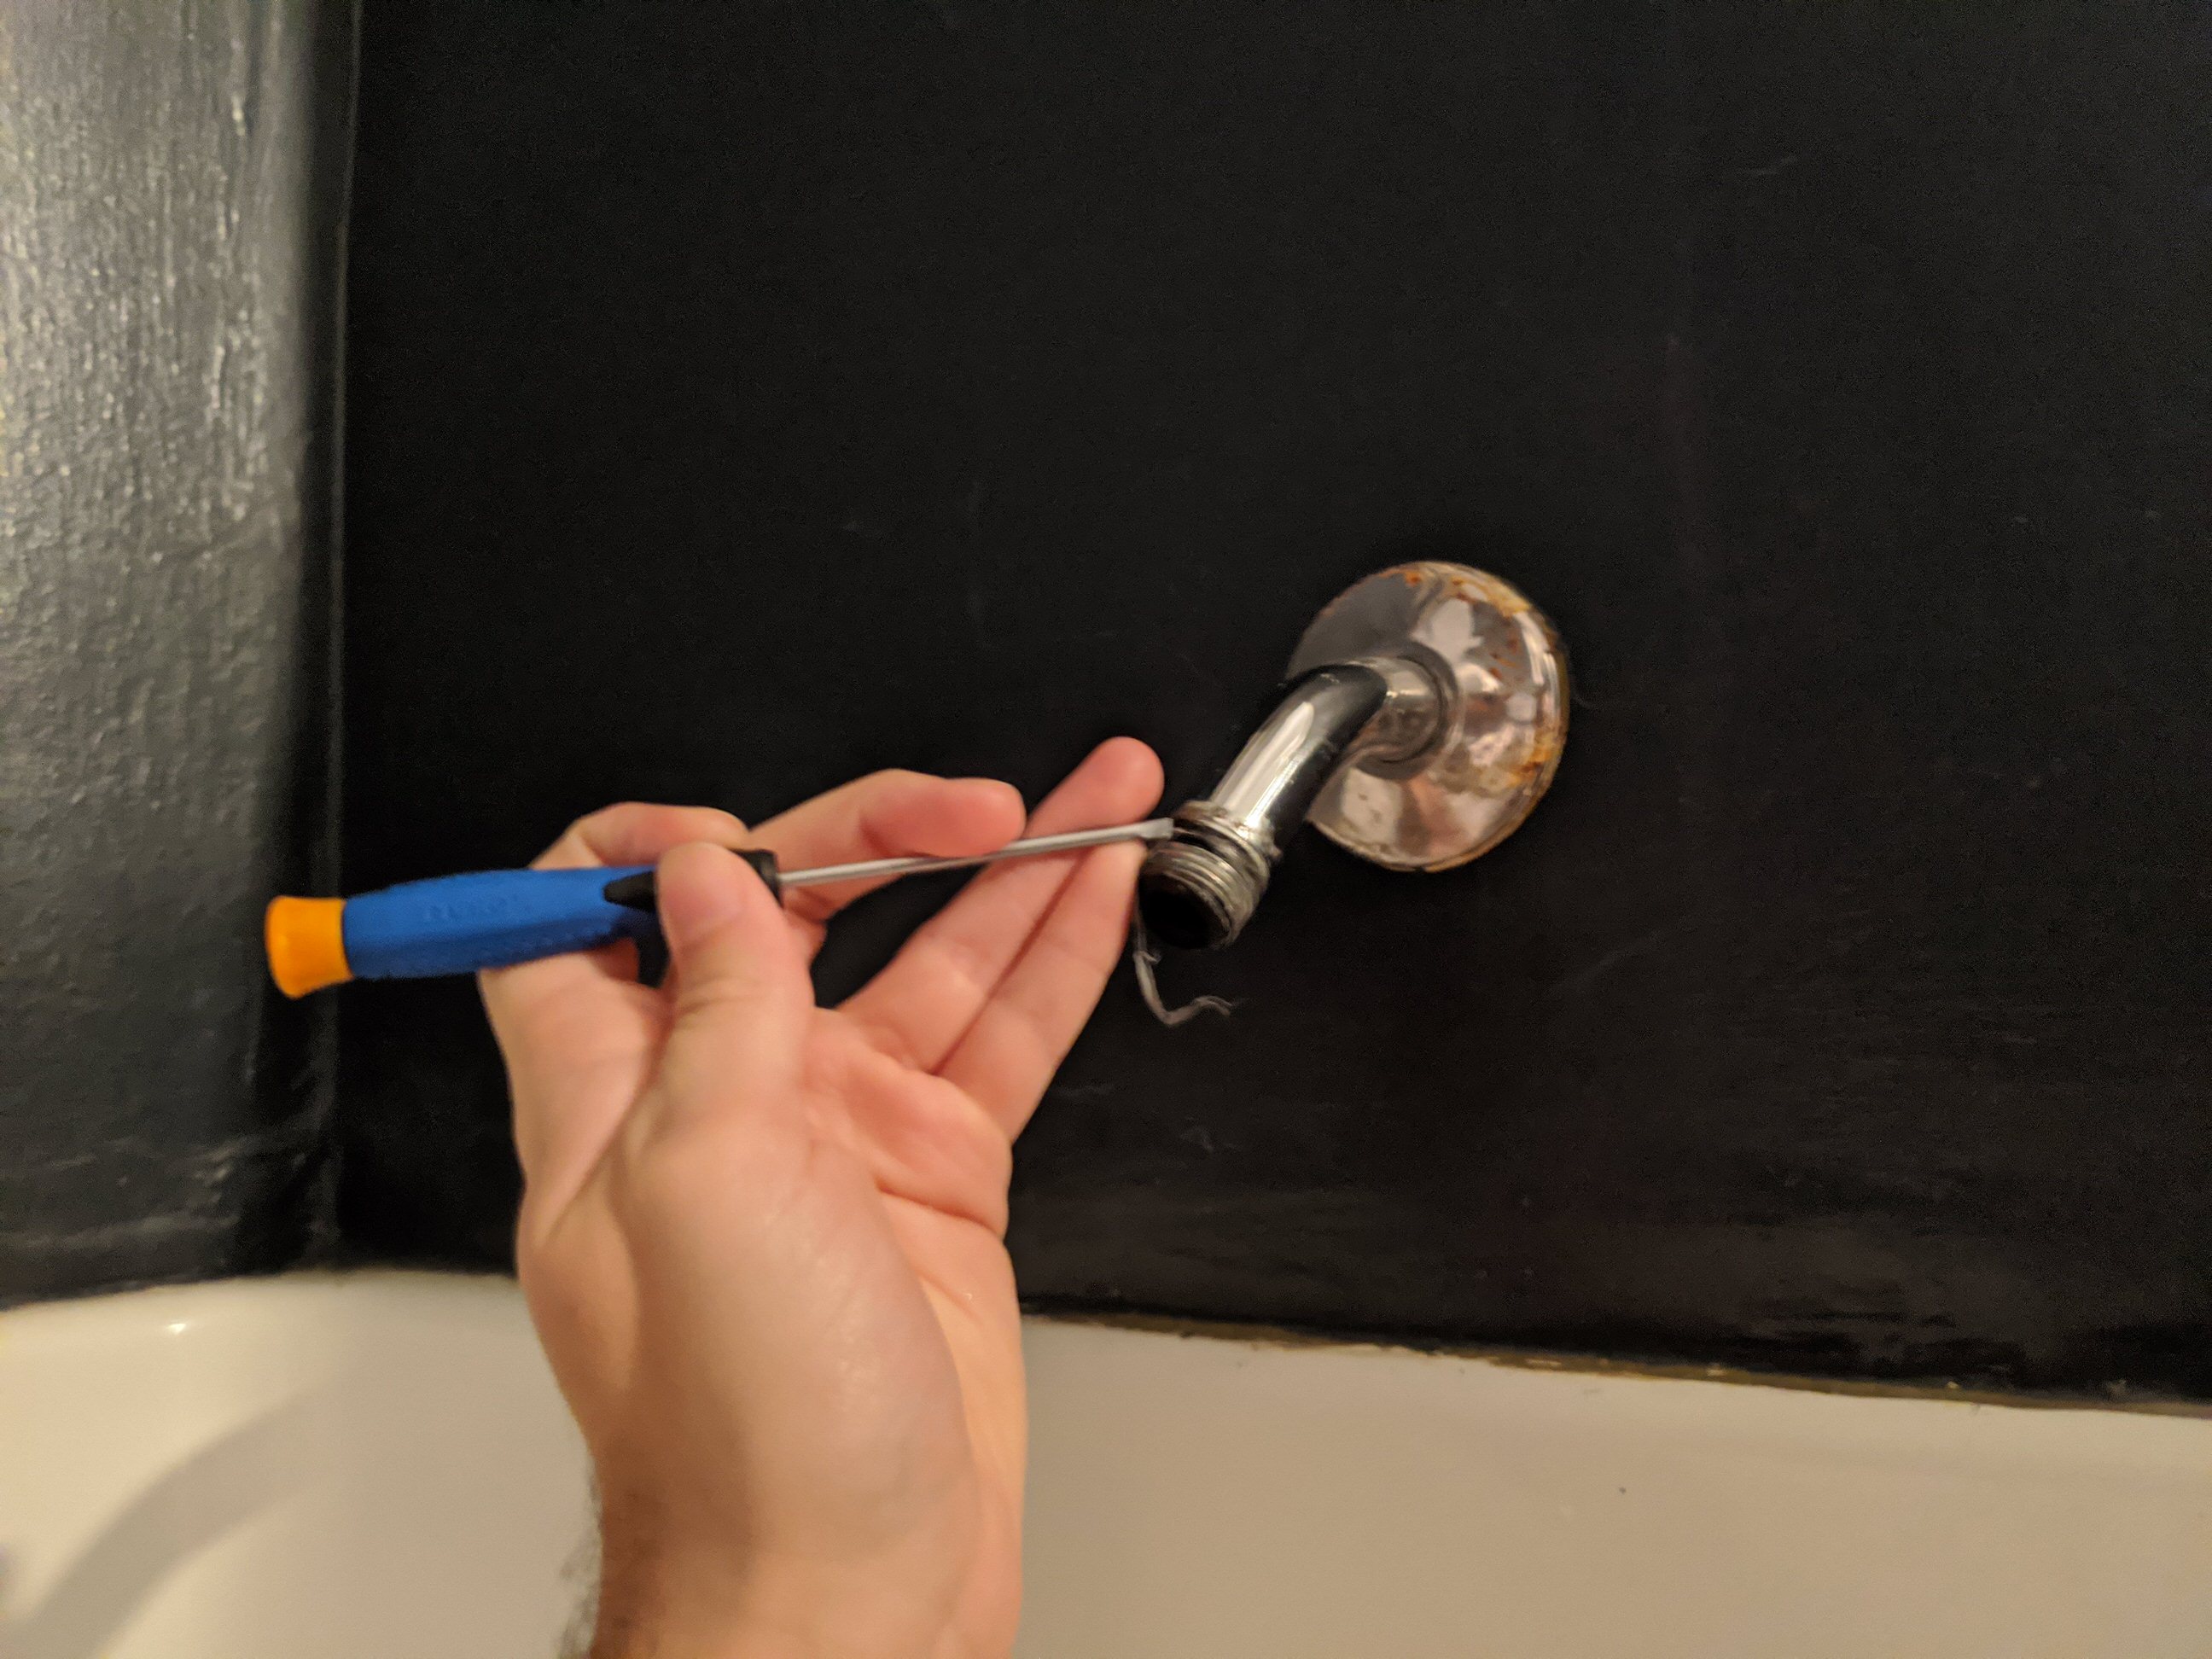
Step 2: Remove any old teflon tape
Many showers require teflon tape, also known as plumber’s tape, to create a seal between the shower arm and the shower head. This thread can be tough to remove. I’d recommend getting a small flathead screwdriver and go thread by thread scraping the tape out. A pencil would probably work as well.
While it may seem tough at first, the tape tends to unravel pretty easy once you get a small bit free.
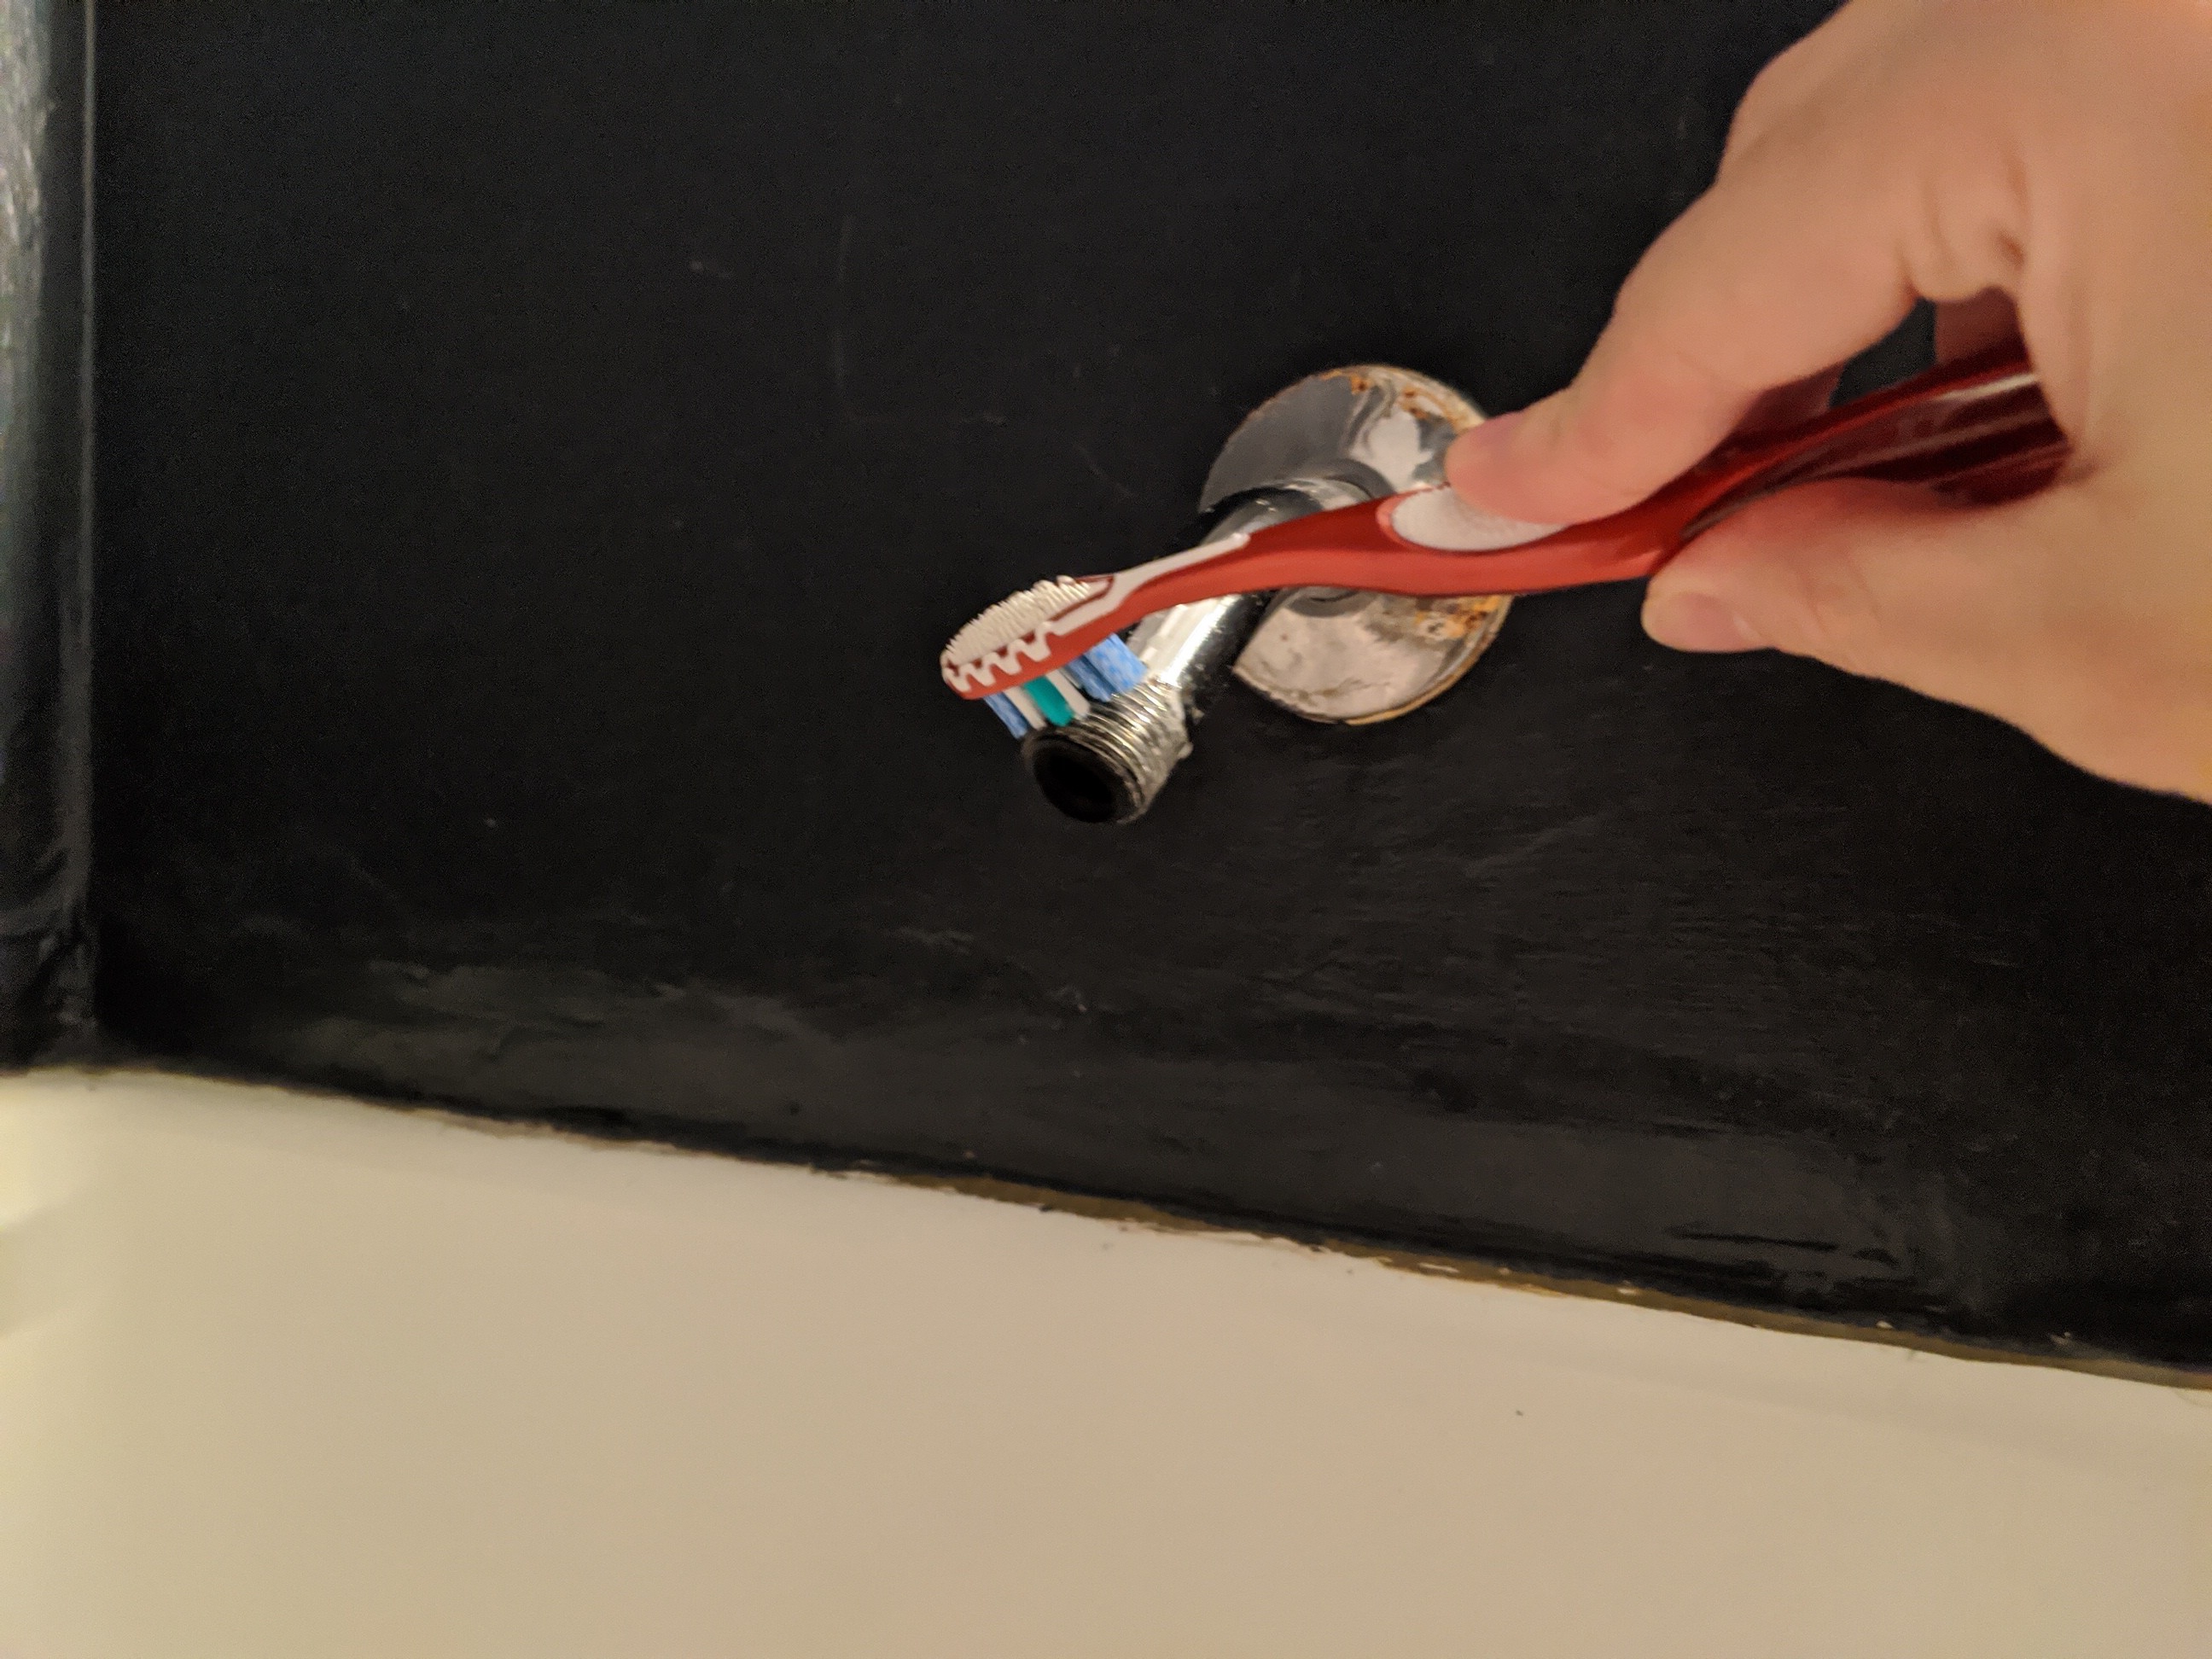
Step 3: Clean the threads with an old toothbrush
Take an old toothbrush and we it. Use the toothbrush to clean the—applying light pressure. This should remove any stray debris from the old teflon tape. If there is a lot of corrosion, consider doing a second or third pass.
Step 4: Apply new teflon tape (If your shower head calls for it)
Refer to new shower head’s installation manual to see if teflon tape is required. If so, you want enough to cover the all the threads once. Start at the base and wrap it moving clockwise. It helps if you stretch the tape a little. If you wrap it counter-clockwise, the tape may unravel when you screw in your new shower head.
Most manufactures require teflon tape to help prevent leaks. My new shower head did not, so unfortunately, I don’t have pictures for you.
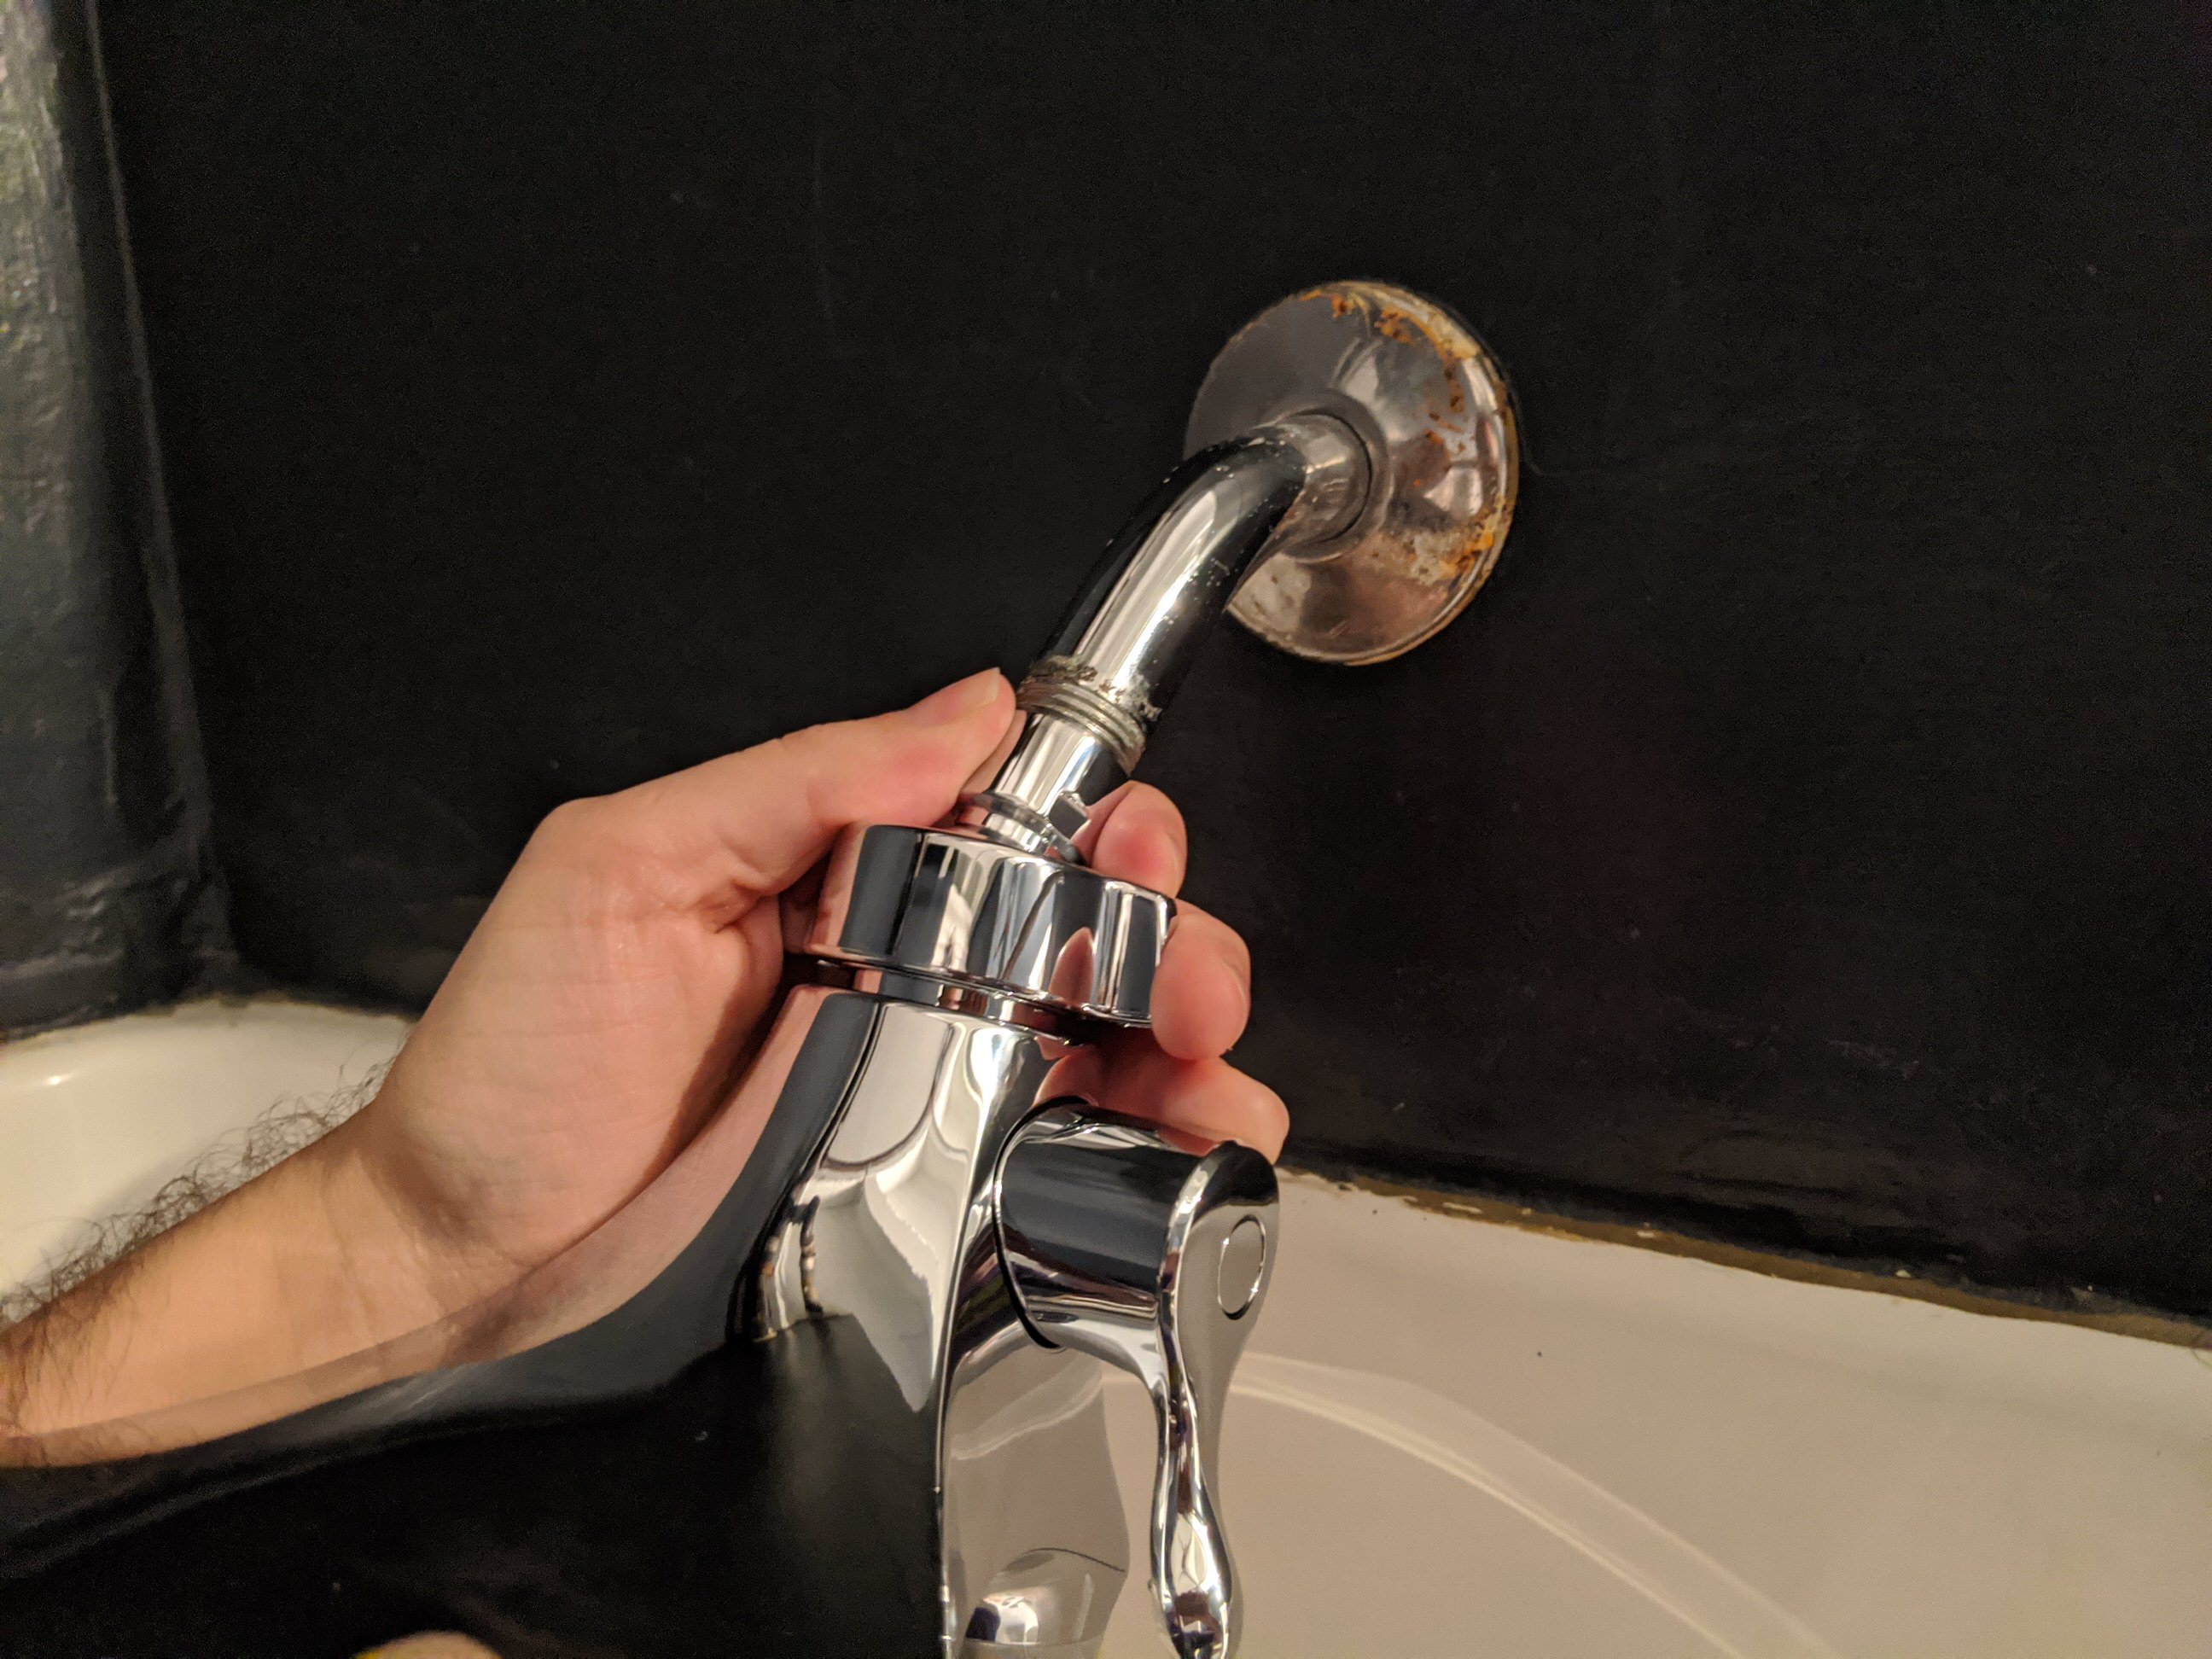
Step 5: Attach the new shower head
Use your hands to screw the new shower head as much as possible. When you cannot turn it any more use your crescent wrench to give it one more slight twist. be careful not to twist the shower arm when doing so.
Make sure that rotating the shower head does not unscrew it. If that’s the case you need to do more tightening.
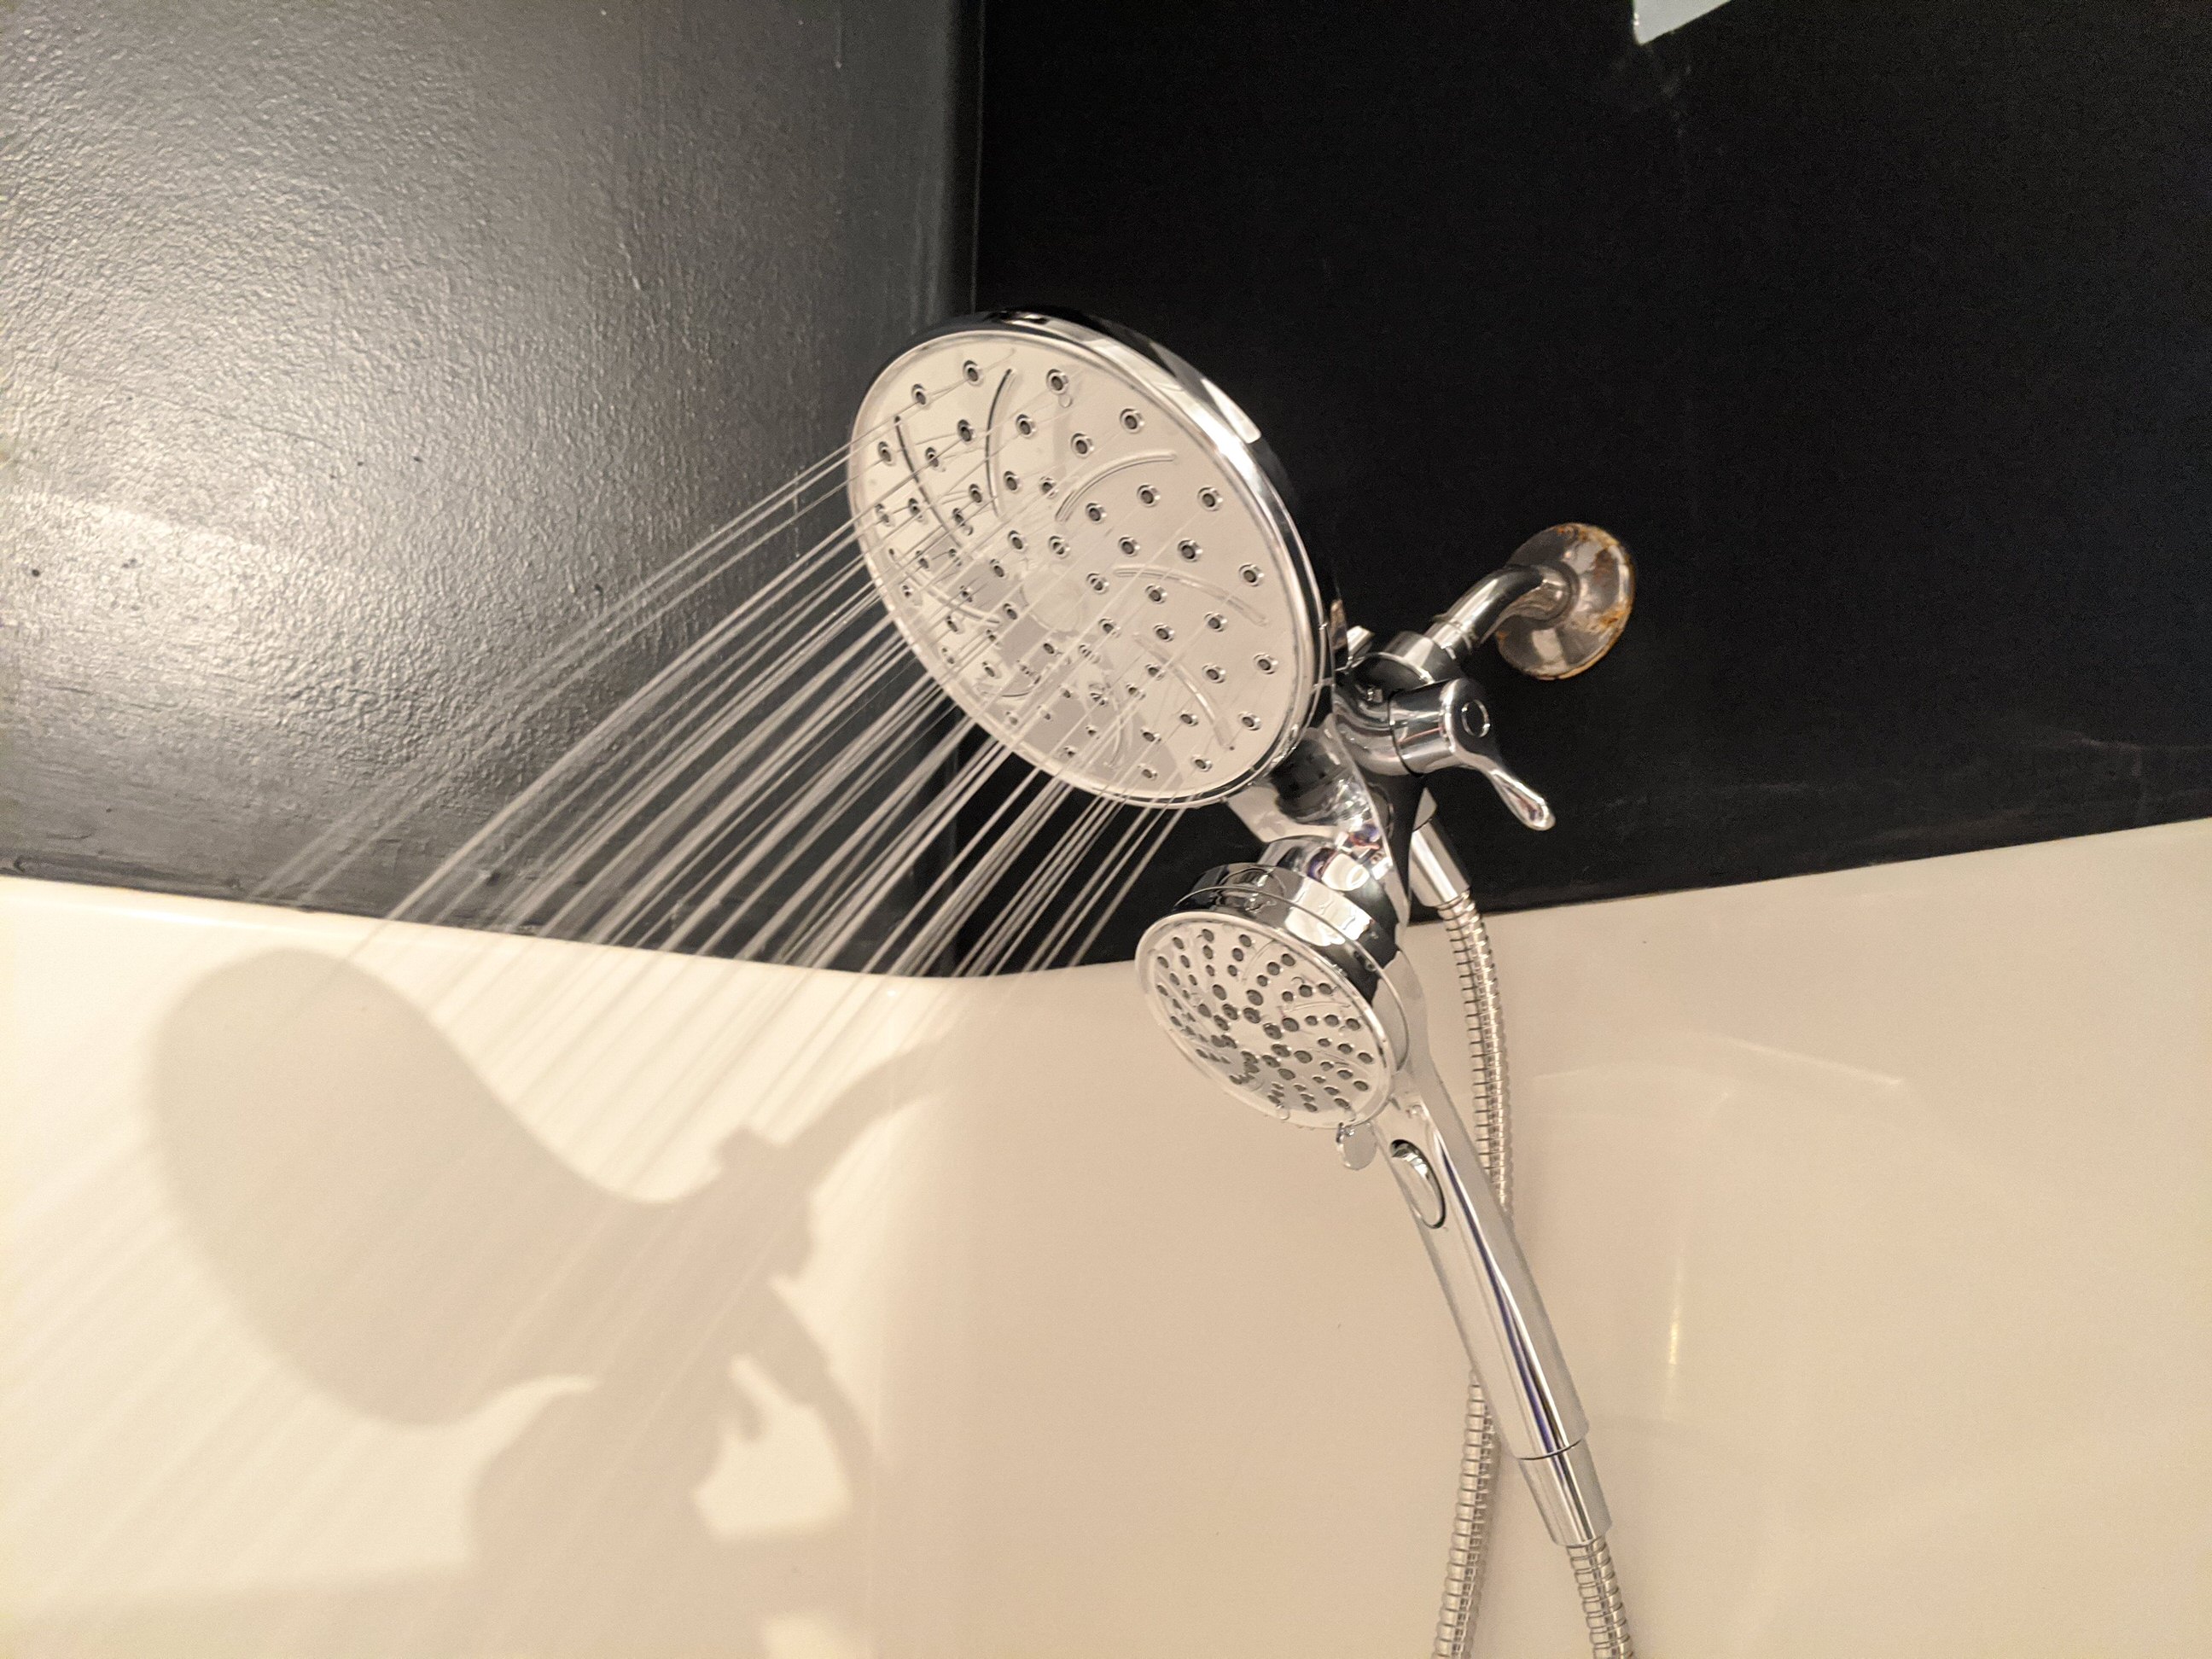
Your new shower head is ready to go
Turn your shower on and make sure that there are no leaks coming out between the shower arm and shower head. If water is not flowing, double check that the shower head settings allow water to flow.
That’s it your new shower head is ready to use!